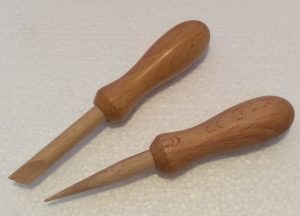
This is something that we all get – whether we want it or not! If we don’t have a handy size, or shape, to work with it’s not hard to find someone who does. Rather than send it to landfill, this page is about crafty ways ways to use it. Our first project is an attractive base block to suggest a log for flower arranging. We used a sharp kitchen knife and our own made wooden tool set for working the polystyrene – a sharp prodder and an angled chisel tip tool.
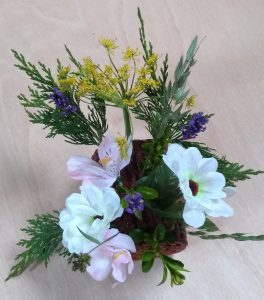
This time we used artificial flowers mixed with real flowers, etc, out of our own garden to make an arrangement on a base made to look like a wooden log. We got a chunky ‘brick’ of expanded poly which came as packing with an electrical appliance. Here’s how to do it:
Here’s the tools make for the job
These are now available on our main website www.makings.co.uk
First, shape the block by cutting it with a sharp, thin bladed kitchen knife.
The sharp, thin blade keeps the bits of poly that fall off to a minimum [Word to the wise: cutting expanded poly with anything other than a sharp, thin blade produces lots of small bits that cling to most things and can be a pain to clear up].
-

Cutting with a sharp, thin blade keeps the bits that need to be cleared up to a minimum.
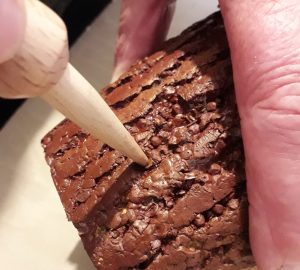
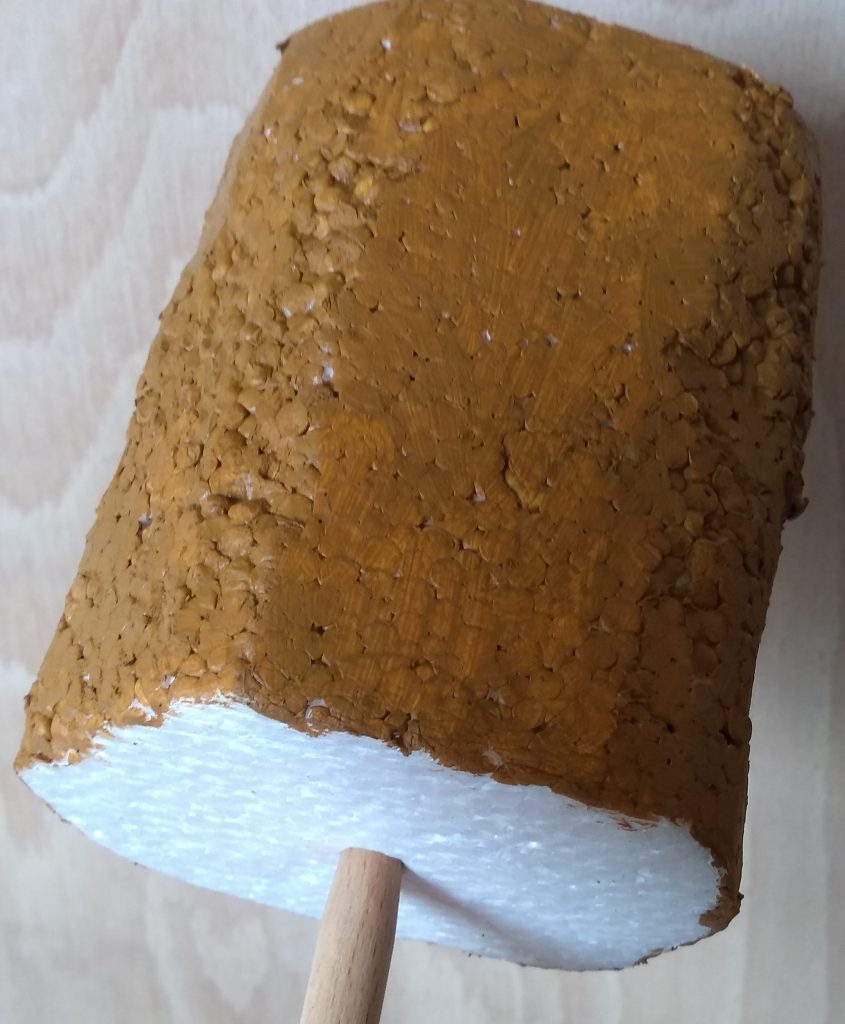
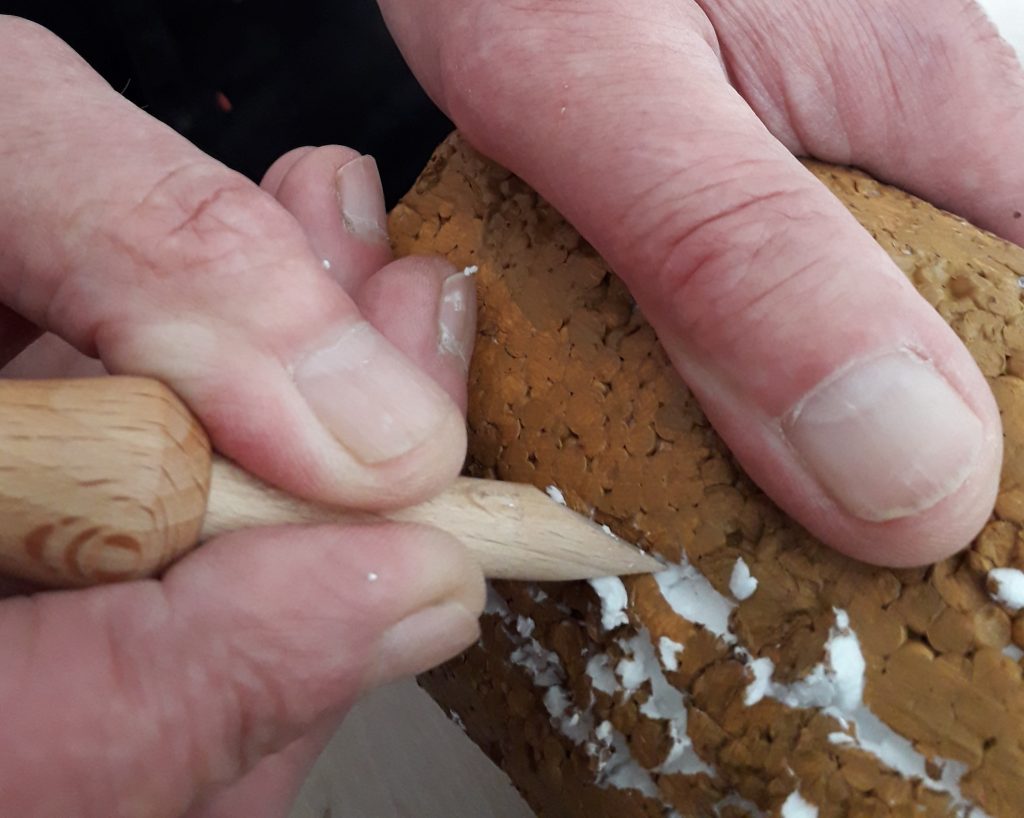
Then paint the shaped block a ‘woody’ colour, we used acrylic paint. Once the paint’s dry, which doesn’t take very long, use the chisel tool to cut rough grooves along the length of the ‘log’. Then paint the fresh grooves with a darker ‘woody’ paint to suggest lines in tree bark.
Handy tip:
Painting is often made a lot easier by ‘spearing’ the workpiece with the sharp point tool and holding like a lollipop.
Next use the chisel tool to cut grooves, lengthways, into the surface of the ‘log’ and paint the grooves with a darker ‘woody’ colour. Getting paint on the, already painted, surface won’t matter.
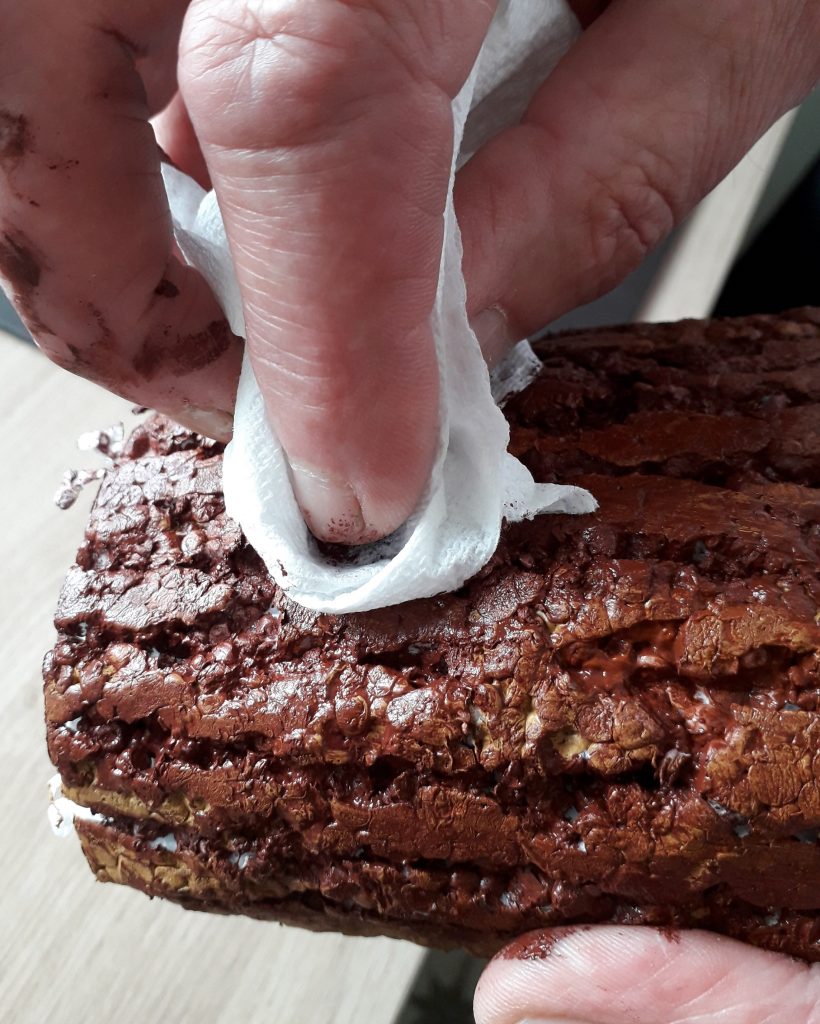
When the new, darker, paint is still wet wipe as much as you can easily from the surface of the ‘log’. This will leave a slightly darker surface but much darker grooves – this makes a convincing ‘bark’ look.
Handy tip: If the paint doesn’t go into the grooves easily enough just dip the brush into clean water to make the paint a bit runnier.
Handy tip: Wiping the surface of the ‘log’ can sometimes dislodge little bits of polystyrene which leaves white surface showing so keep some of the same handy to touch these up.
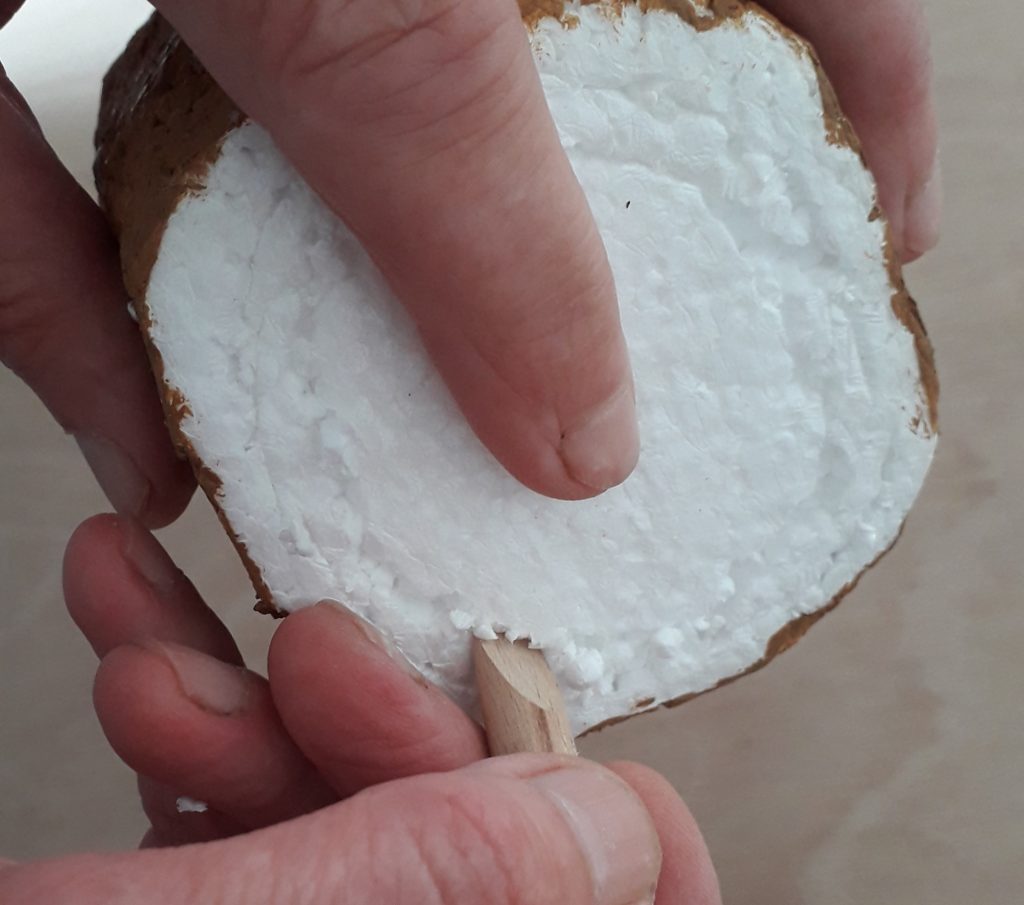
Next step is to cut grooves around the end to suggest the end grain of a log
Finally, use the sharp prodder tool to make hole to push decorations into. The tool makes a tapered hole which will hold the stem of any decoration much more firmly than a hole with parallel sides.