Luxury keeper cards/picture mounts made using cardboard boxes and old fabric
Simple tools for an easy craft
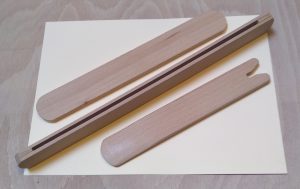
Here’s how it’s done
This is how to make an attractive, and strong, luxury greetings card that can double as a picture mount.
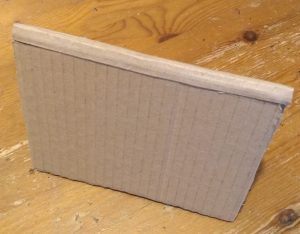
We made this one from a cardboard box and an old sheet using our own hardwood tools. The cardboard was the single wall corrugated type that so many things arrive at our doors in.
The trick is to make an effective ‘hinge’ in the cardboard – rather like the spine of a book. Getting this right, which is easy, means the finished card will lie flat when it’s closed or stay open and steady when it’s stood up either way.
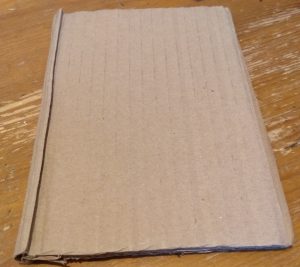
First cut out a piece of a cardboard box.
The size of the piece should be big enough to make the front and back of the finished card + at least 12mm [1/2″] for the spine added to the width and with a generous ‘safety’ margin as well. Bearing in mind this material is free and plentiful it pays to cut it out oversize so it can be trimmed down evenly later on.
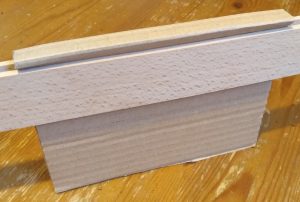
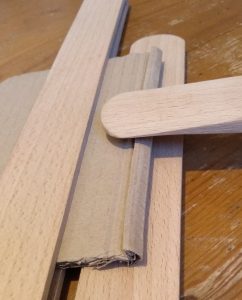
Next fold the spine.
Fold with the cardboard around the flat spine former, along the corrugation [the easy way!] and press on it, to make nice sharp edges, with the paddle end of the folder.
![]()
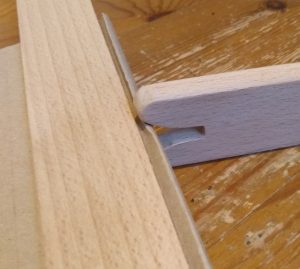
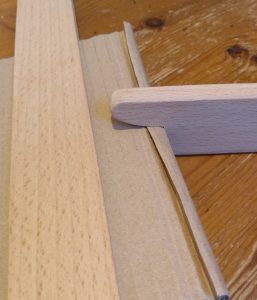
Then slide the frame over the closed card, to bring and hold the two sides of the card together, pull the former out and press the square edge down, against the frame, using the paddle end of the folder.
 And then roll the square edges of the fold towards the frame using the angled open other end of the folder. Start from the middle and slide the folder towards one end and then the other. Do this several times.
 Once the square edges are rounded over it will need the pressure from the folder finish the job. Laying the flat former underneath the spine will make this easier. Again, start from the middle and work out and do it several times.
 The rolled edges can now be really squeezed together using the groove on the other end of the folder.
Once you’ve done that you should find the card will stay closed when it’s laid flat. If it doesn’t press it down with the paddle end of the folder, on the former, again.
Now make the card much stronger
This is very easy – just cut out two more cardboard pieces [from the same, of similar, box] and stick them to the front and back of the card with the corrugations gong the other way. There are plenty of ways to stick cardboard but we find double-sided sticky tape is easiest. Suddenly the card will be surprising strong and the width of the spine will match the double thickness front and back. Now the card will stand up and be stable when it’s partly open.
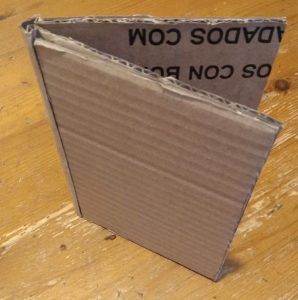 And it will also stand on to open side without ‘doing the splits’ – this is important if you want it to be a picture mount.
Now’s the time to trim the card to the size you want.
Trimming it now means you can easily make sure the edges all match up.
Now for the cloth cover
Cut the cloth so that it’s 2 or 3cm [about 1″] bigger than the card. We used an old polycotton sheet from a charity shop. Stick it to the outside of the card – double sided sticky tape is easiest for this, too. Then fold the cloth around the opening edges of the card and stick these to the inside of the card and fold the corners of to make mitres.
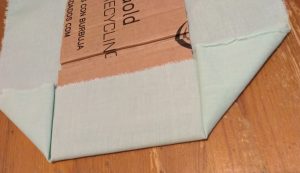 Finally fold and stick the top and bottom edges onto the inside of the card.
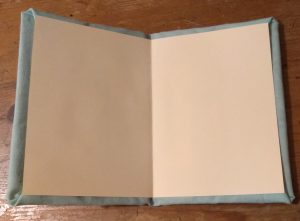
Finishing touch
To cover the raw edges of the cloth and make a nice clean finish fold a piece of 160gsm card and cut to the right size. Crease the fold down using the folder, with former underneath, and stick it inside the card. Good old double sided sticky tape is best again!
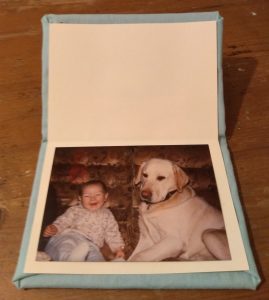
Now the really fun bit
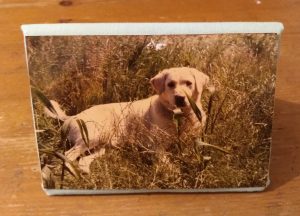
This is where the personal touch makes an old box and some cloth into something special! Of course you can write anything you chose inside and add any pictures outside and inside. We chose to stick old photos on. These were from the days before we had a digital camera. If you want to use digital images you’ll get the best result if you print them on glossy photo paper.
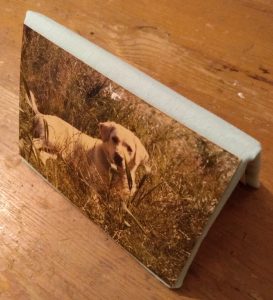
Here’s what we did. Outside:
And inside:
 And, yes, it stands nice and steady as a mount!
With thanks to our models Toby and Nina!